Home › Forums › Motorcycle Tech Talk › Ohlins Mechatronic Suspension Install
-
AuthorPosts
-
Anonymous
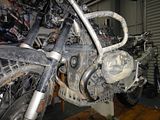
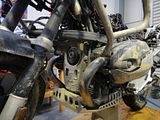
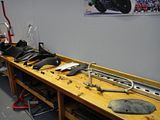
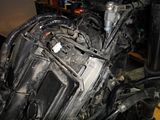
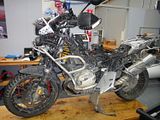
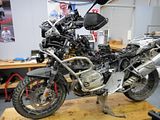
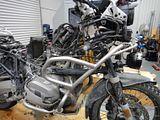
Inactive07/10/2012 at 9:33 amPost count: 289Since I was the first to install the Ohlins EC Suspension in NZ I figured it would probably be helpful to write up how it was done, and provide some details along the way, for anyone interested. This was done on my 2010 R1200GS Adventure, fully spec’d with both factory packages so has ESA, RDC, ASC etc. It also has plenty of aftermarket accessories so this made the job harder than it would be on a stock bike. I recommend having the factory workshop manual available as it details steps required to do things etc, and it was how I figured things out.I presume you have already removed the fuel tank, or are comfortable doing so and will start the process there. To read up removing the tank, I wrote this:http://www.advrider.com/forums/showthread.php?t=799137Or here is another write up by someone else:http://www.advrider.com/forums/showthread.php?t=808727Yes, my bike will appear dirty in the photos and this is mainly because I ride it. It also just so happens that during the weekend before doing the install in Robert Taylor’s workshop that some mud jumped out and threw me off my bike… uh, several times.With the fuel tank removed, go ahead and remove the lower crash bars including the middle section (I also have the AdvDesigns extension crash bars and these have to be removed as well). Only one bolt on each side at the bottom needs to be undone, the other hole is just for lining things up. Be aware that now the upper bars are hanging on by some flexible mounts under the radiator so try not to move them around as it will be harder to get the bars lined up when completing the re-install.
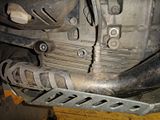
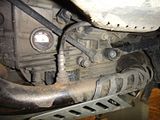
The belt guard must also be removed, it has 5 bolts on its face and mine came away quite easily once nudged. Removing it gives more clearance around the shock and the Ohlins spring is a larger diameter so you need all that space. BMW recommends you remove the skid/bash plate as well. I have the larger BMW plate fitted and while it made things a little tighter, it doesn’t HAVE to be removed (but you will need to encourage things into place later, but not a major).
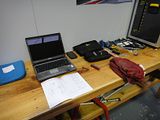
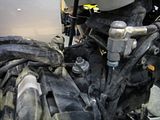
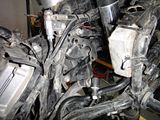
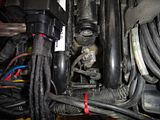
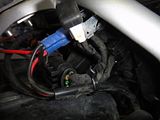
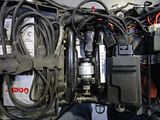
So by now you already have an impressive arrangement of parts and bolts. In front of my laptop is the Ohlins installation document. A little lacking for a GSA and not a complete how-to but still a decent overview of the process, as the suspension is probably targeted to a GS instead.I did the front suspension first so the next step is the cutting of several zip ties. Trace the cables from the front spring, one at the bottom and one at the top back to the plugs, which side by side behind the top bolt of the spring. Cut all zip ties along their lengths and then unplug the cables and pull them out through the frame (they will be removed with the spring).
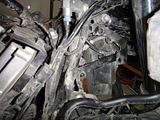
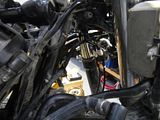
The next job is to tackle the mounting frame for the front ESA motors. There are 2-3 bolts each side, one each side is very fiddly and behind a triangular section of frame which was quite difficult to get to. I found the spanner to go onto the nut had to be put in from the front and pointed backwards and even then it was tight. With all the bolts removed the motor and frame should be loose and ready to be removed.
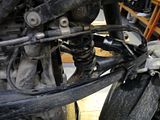
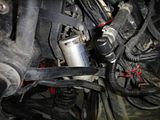
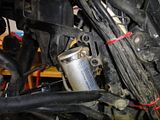
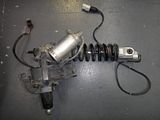
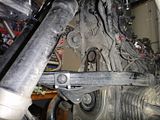
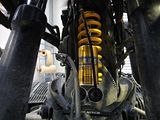
You can now loosen the bolts holding the spring in. At the top you need an allen key into the centre of the thread to hold it in place (I braced it against a metal part) while you undo the nut. At the bottom there is threadlock on the bolt but a breaker bar was sufficient for me to get the bolt out. Removing the shock is mostly likely a two person job. You’ll need to pull up on the bars or pull on the front wheel, basically extending the forks which gives you more room to work. Pay attention to the assembly of the rubber parts at the top of the spring as they are re-used on the Ohlins spring. A rubber collar on top of the shock is in a wave formation and mates to the frame and has a small bit that goes into the frame mount and meets the top rubber collar which comes down to fill the oversized hole as the thread goes all the way through. You’ll need to line this all up correctly when installing the Ohlins spring.A rough weighing of OEM shock against Ohlins revealed the Ohlins weighs 1.5-1.7kg less than the OEM, so you’re getting a weight saving. The OEM shock weighs about 4.7kg while the Ohlins weighs 3.05kg, but the scales varied their weight a little each time I measured.
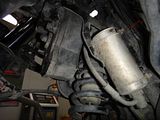
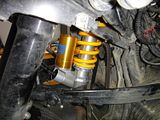
Install the bottom rubber collar on the top of the spring and install the Ohlins shock. I put the bottom in first and ran it past the bolt hole as far down as it would go. I still didn’t have quite enough clearance to get the top into the mounting hole but we had the bike on a big box and ended up dragging it backwards, hanging the rear wheel off the end to extend the forks enough to get the shock in. Make sure the collar is rotated to the correct position and the shock aligned correctly otherwise the thread won’t go all the way through and out the top.
I tightened the bottom bolt most of the way first to hold it in place and then got the top lined up, the top collar inserted and tightened up the top then the bottom again. You can go ahead and install the belt guard (this will require a bit of pushing to squeeze it between skid/bash plate and spring but it’s plastic and flexible. The crash bars can also be installed but do not replace the tank as you still need to run the Ohlins wiring loom through the bike.
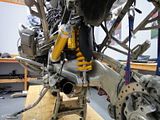
Next up is the rear shock. Remove the rear wheel (5 torx bolts) and the exhaust (loosen the rearward clamp). I also removed the actuator thing between exhaust and mid pipe to give me a little more room, simply moving it to one side as it has the cables attached to it. Brace the swingarm in preparation for removing the shock, I used a tie down around the rear frame.
The rear shock is removed by removing two bolts, one in the swingarm and one under your seat behind the battery. Next to this bolt under your seat are also the two ESA plugs which you need to un-do. With all that undone you should be able to easily pull the shock out from the bottom and you can go ahead and put the Ohlins shock in. From my weighing, the OEM and Ohlins shocks are basically identical in weight, again the scale varying slightly between measurements.
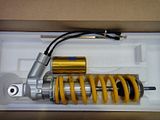
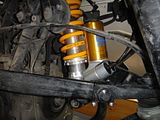
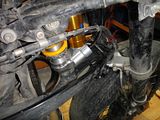
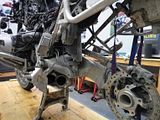
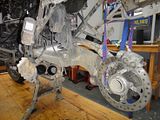
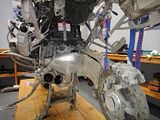
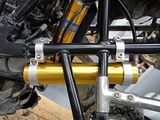
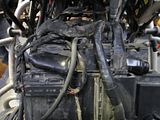
My bottom eye in the Ohlins shock had to be machined down just a fraction as it was too large to fit into the swingarm, but Robert handled that with ease (very handy having him there with all the tools). The reservoir is larger than I’ve seen on any other Ohlins shock and mounts to the sub frame in a fiddly arrangement of some very nicely machined metal parts. The Ohlins book describes how to assemble the components, but check the picture for the how it all goes together. It took me a couple of attempts to get it all in place correctly and seems to be designed to wobble a little on the rubber mounts between reservoir and sub frame brackets.
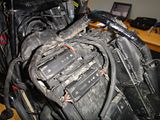
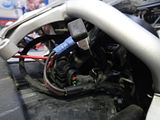
I also had a rear splash guard installed but this isn’t able to be fitted because the reservoir takes up sub frame space the guard used to have. I may cut it up a bit and see if I can get it back in… We bolted up the top of the shock first, then the bottom adjusting the swingarm until everything lined up. The suspension needs to have a test run without the bike starting (process is in the installation book) involving the ESA and Info buttons but first the wiring loom needs to be installed.The Ohlins suspension is controlled by an Ohlins ECU and all the wiring is advised to be installed as per the book, with front shock cables on the right side of the bike and dash interface on the left side of the bike. Cables have clearly been cut to the correct length for installation on these bikes so you are left with minimal options in changing the set up as the cables simply aren’t long enough (but makes for a cleaner install).It was here that we hit another issue. Many of us have used the tool tray for something else, myself included. I use mine for my Baehr communications box which handles my GPS, Radar and CB Radio. Ohlins wants the ECU taped down to the tool tray (tape included in box) but the Baehr had nowhere to go, so for now the Ohlins ECU sits on top of the battery on a rubber pad and wrapped in foam and my seat must be in the high position on the front (and putting the seat on is a little fiddly). I feel it’s important to note, as I hadn’t realised Ohlins wanted to use the tool tray and obviously caused issues for me.The shock cables are easy to installed, each labelled with a C or R and matches to a RC or RR (additional R stood for rear I figured) on the other cable which makes it obvious. I ran the dash wiring up the left side as advised and up behind the clocks. There are 3 plugs on the lead, two for plugging in between the dash and OEM loom and the third is the diagnostic plug for Ohlins tools. I figured the plug should be easily accessible and there is space around the screen sub frame so poked it out there for easy access. Ignore the extra wiring, it’s for the Touratech dash surround.
The final step is connecting the Ohlins ECU to power and the two leads already have circular terminals on them for running to the battery. Since I have accessory hubs (with the one under the tool tray thankfully having one spare slot) I took the circular ones off and put the spade type ones on instead and connected to the hub.At this point you can run the self-test of the suspension. Running it as per the Ohlins instructions will simply run through the full range of rear preload and you will be able to see and hear the Ohlins motors compressing the spring. From here we used the supplied zip ties to secure all cables and also ran the front shock cables up almost to a bolt hole and looped a zip tie through to stop the cables flopping around. I’m not sure whether the front shock is too exposed as mounted for rougher stuff, but only time will tell.
Ohlins also supplies thick heat shrink tubes for sealing up the OEM plugs left behind but with careful use you only need 3, using one for both rear plugs. However, at this point, I suggest you go through a full test of the suspension before sealing up the old plugs. This will require the fuel tank so re-install it. We didn’t, figuring it was fully functional and put the bike back together only to find the riding modes 1up, 2up etc that adjust preload were not available. Ohlins is aware of this, and the recommended solution is plugging the OEM suspension in, unplugging the Ohlins suspension, running through a test and then removing OEM and plugging Ohlins back in. From there, the Ohlins suspension should work perfectly. Since we hadn’t, and it was now evening with no time to take the bike apart (as the front plugs are under the tank) I had to do this the following weekend… so take the time, and test it fully before re-assembly!
Remember to remove the fuel tank and put the OEM suspension plugs in the heat shrink tube. Once done, you can add the fuel tank and all the other panels and enjoy your new suspension!
Anonymous
Inactive07/10/2012 at 9:34 amPost count: 289Found the 20,000 character limit…All up, the install started at 0900 and we rolled the bike out of the workshop at 1930, but for the most part I was doing it single handedly, as Robert said, the more you do, the less we do, the less you pay. I stopped once briefly around 1400 to have a drink and a quick bite to eat. However, I rate my mechanical skills off the bottom end of the scale with retarded chimps (they probably beat me actually) so would think someone adept at holding those spanner things would do it quicker. Robert also wanted to do/observe the first install to see how it went, but I would say it will be a shop install for the rest (his estimate of 2-3 hours was also slightly off once he saw the amount of work required). At least the faces he pulled when he poked his head around the corner several times was worth a few laughs.
-
AuthorPosts
- You must be logged in to reply to this topic.
